

Not only can you choose the tiles themselves to make a space uniquely yours, but you can also use glitter grout to give them a special shine. Our ‘how to’ YouTube video and application instructions for glitter grout are here to help you get the look.
Preparing and Applying your glitter grout
Prepare the area
It’s important to clean out the tile joints of any old grout or debris before you start the process of putting fresh grout. This creates a clean slate for the application of fresh grout and maximises the impact of the sparkling new grout.
Make careful to cover the flooring surrounding the area you intend to grout with a floor protection sheet to prevent any messes from spreading.
Prepare the glitter grout
Before putting new grout to tiles, remove any old grout or loose items. This creates a blank canvas for glitter grout and maximises its appearance.
Using a floor protection sheet, protect the flooring surrounding the grouting area from spills.
Slowly combine grout’s two components using a mechanical stirrer. Stir for 3-4 minutes until smooth.
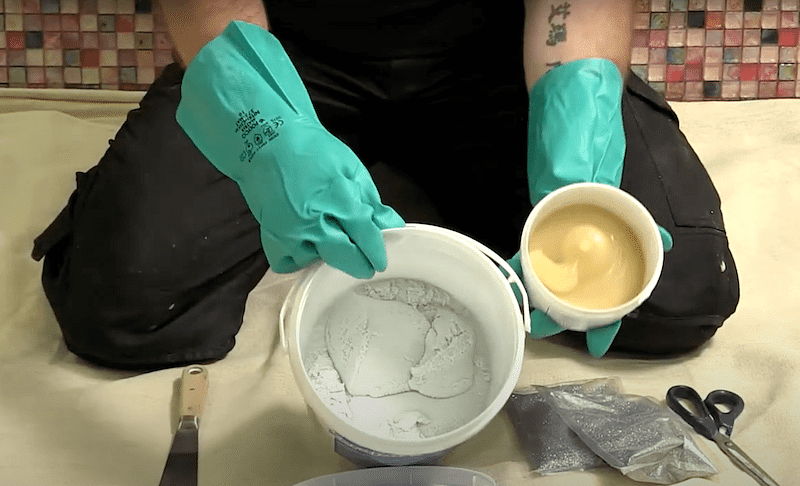

Once the grout is well mixed, it’s time to add the Mapei glitter! You can add 1-3 sachets of the glitter, but we recommend 2 sachets for the best glitter results! Empty the sachets into the tub of grout and work well into the mix, folding in the glitter with a spatula.
After mixing the grout, add Mapei glitter. Add 1-3 sachets of glitter, but 2 is preferable. Fold the glitter into the grout with a spatula after emptying the sachets.
Using a gentle mechanical stirrer, mix glitter into grout to achieve level distribution.
Apply glitter grout to tiles
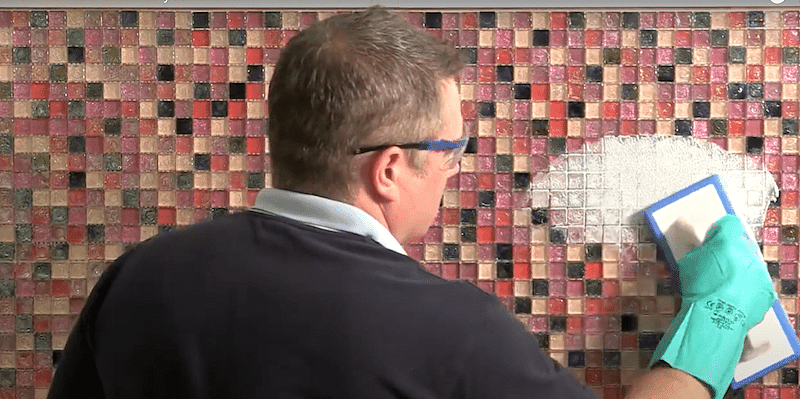
Once you’re pleased with the combination, add the glitter grout to the tiles within 45 minutes. Use a stiff rubber float to apply grout to tile joints. We recommend angling the rubber float to eliminate air from joints as product is applied.

Cover all tile joints with the product. The grout will be removed in the next stage.
Remove excess glitter grout from tile surface
After grouting all the joints, brush the rubber float diagonally over tiles at a 45-degree angle to remove excess grout. At this stage, simply remove grout from the surface, not the tile joints.
Wipe down the tiles
When the grout begins to cure on the tiles, you may wash them to expose the dry glitter grout.
Put a sponge in each bucket of clean water.
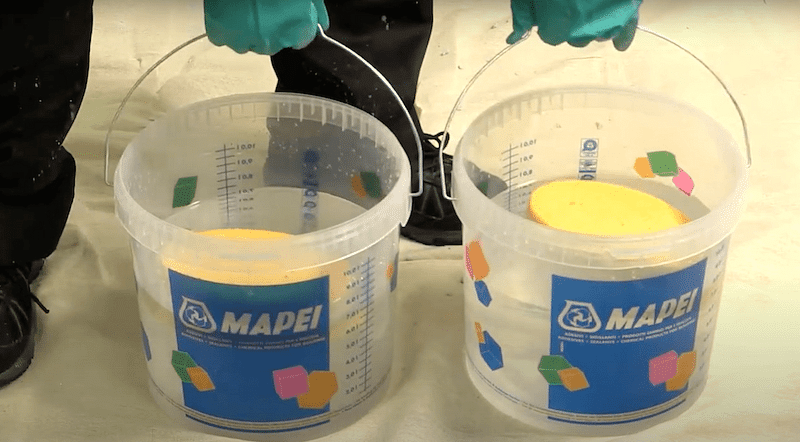

Soak the first sponge in the first pail of water and wipe the tile surface in circular motions to remove the grout mixture. Rinse the sponge periodically in the first bucket to avoid spreading grout; the goal is to remove most of the extra product from the tiles.
Using a second sponge and clean water from the second bucket, wipe the tiles. Using a diagonal motion and spinning the sponge removes most product residue.
Appreciate your sparkle grout
Try to crush glitter grout into tile joints as much as possible for a complete joint.
If after cleaning with water you still notice a film on the tile, use Mapei Kerapoxy cleanser the day after grouting.
The Kerapoxy cleaning spray is easy to use; simply spray it on the wall and let it sit to soften the tile surface.
Then, rub the tile with a clean microfiber cloth in a circular motion.
Once cured, Mapei glitter grout is stain-resistant, easy to clean, and adds a personal touch to your tiles.
Follow Home Inside for more!